Kettlebell snatch and clean & jerk
Ah! the beloved kettlebell that awkward piece of equipment coaches love to program and athletes love to hate. The kettlebell is an extremely effective tool that


Ah! the beloved kettlebell that awkward piece of equipment coaches love to program and athletes love to hate. The kettlebell is an extremely effective tool that
Ah! the beloved kettlebell that awkward piece of equipment coaches love to program and athletes love to hate.
The kettlebell is an extremely effective tool that can have a variety of uses from conditioning purposes to strength exercises to injury prevention and more.
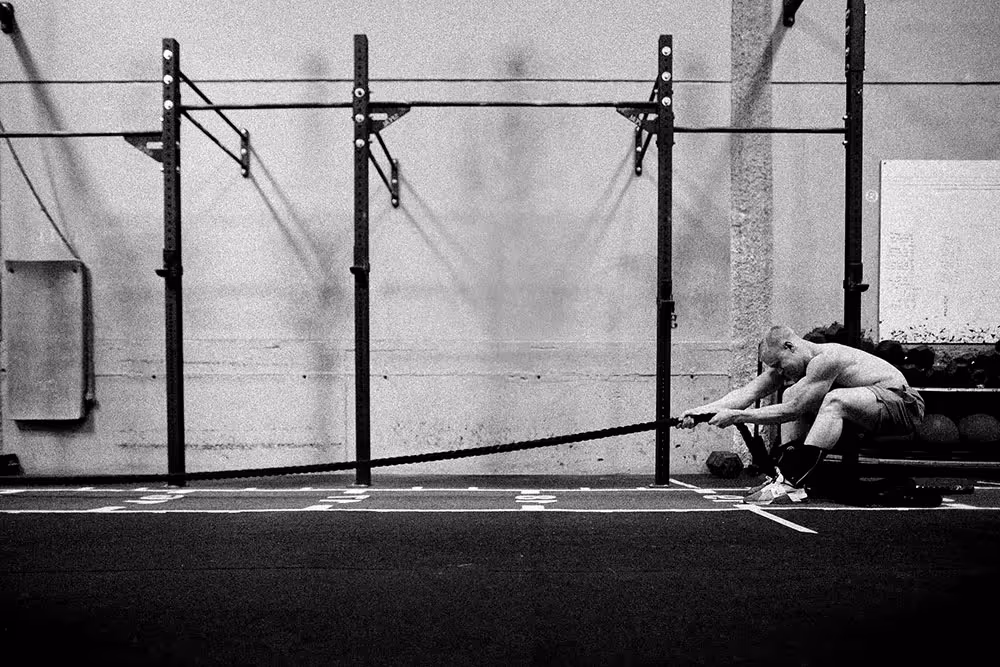
However, it’s undeniable that after the kettlebell swing the most commonly seen skills in CrossFit involving a kettlebell are the hang clean and jerk and the hang snatch.
Although they are different movements with slightly different muscle group requirements, many athletes are quick to point out they share a common issue:
They can leave some serious bruises.
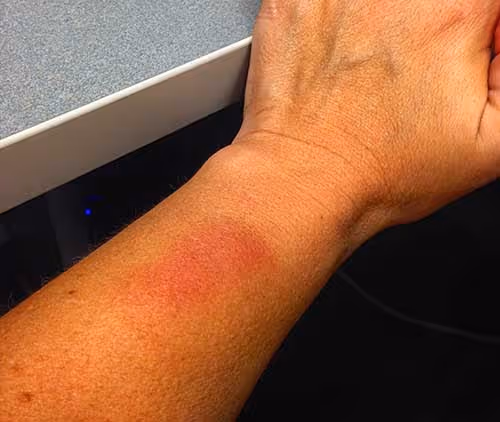
Luckily for them, the truth is that if you are performing the skill correctly, it is actually quite unlikely that the kettlebell will leave your forearms/wrists bruised.
This said, it's far too often that we see athletes swinging around this exercise tool without really knowing how to properly control it through space while they chip away at reps.
In this article we will be looking at the Clean and Jerk and the Snatch in order to break down the movements and help you understand what corrections you need to make to become more efficient and stop yourself from getting those nasty bruises after each KB workout.
We will be looking at the movement in its most commonly programmed form: the single kettlebell hang version.
The first major take away is that you aren’t using two hands like in the swing.
This seemingly obvious observation actually holds great weight because it allows to bring a new plane of motion into the movement: rotation.
Rotation is key in the clean as it allows to keep the kettlebell closer to your body, shortening both its path through space but also reducing the angle (and therefore range of motion) it has to travel from the bottom of the clean to the front rack.
Ultimately, this is key in assuring that kettlebell doesn’t gain too much momentum and slams into your forearm.
But before we even look at performing the movement, it’s important to consider how you hold the handle off the kettlebell.
Many beginners will be tempted to go for the middle, just as they would if it were a swing.
This, however, stops you from being able to properly rotate the KB.
What you will want to do instead is grab on to one end of the handle, almost into the hook.
As you grab the KB, make sure your palm is facing outwardly compared to your center of balance/axis.
When you swing the KB, your arm will automatically rotate, so you’ll find yourself in the front rack position with your palm now facing inwards.
Make sure you are prepared to receive the kettlebell between the front of your shoulder and your forearm.
A slight bend in the arm will shorten your lever in the swing and allow you more control over the weight.
When you catch the KB a little bending at the hips and knees will allow to meet the weight and slow it down, so you won’t have it slamming into you.
In the front rack position you want to ensure your core is tight and lats are active to ensure the KB isn’t just crushing you and pushing you in suboptimal positions to start a second rep or move onto the jerk.
If you are new to the clean or feel uncomfortable with the rotation component we would like to suggest practicing 1 arm russian swings at a relatively light weight until you feel confident and the movement looks smooth.
Any shoulder to overhead movement performed with a kettlebell can benefit an athlete both strength and stability wise.
However, the most commonly performed version in a workout is the jerk.
Just like the clean and snatch the single kettlebell jerk will challenge your anti-rotation muscles (Remember: some rotation is good but too much will fire back).
When performing multiple reps or carrying the KB in the front rack position, it can sometimes be useful to fully rest the kettlebell on your shoulder while slightly bringing up your elbow.
This position is not optimal for pressing, but will allow you to breathe better and give some slack to the main movers in any STOH movement.
To move onto the next rep you will have two options: re-rack the KB to the front rack position and then either perform another jerk or descend into a swing to initiate a clean.
Or you can directly in one single motion descend into a bent arm swing to initiate another clean.
This second option is much faster but requires better control over the weight, therefore we suggest utilizing it as long as you feel in control of the kettlebell and are not struggling excessively to lift it.
Otherwise, opt for the pause at the front rack descent. It may be slower, but it can save you from time costly errors in the long run.
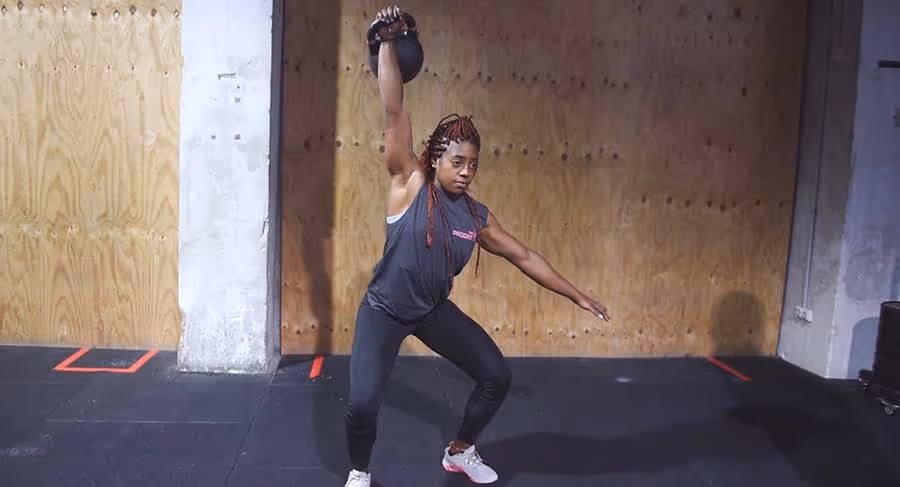
Last but not least we have the single kettlebell hang snatch. This movement requires both activation of anti-rotational muscles while also making you use some of that rotation in order to acquire speed and perform an overall more smooth snatch.
Because there’s a wider ROM in the snatch the KB has the chance to build more momentum and therefore slam more agressively into you if not caught correctly.
Here more than ever it’s crucial to understand how to grip the KB.
With all of this considered, we hope your bruising incident will reduce drastically.
However, sometimes not even the most elite athletes can escape from a high volume/high rep workout that can leave its sign on your skin.
For these cases, we recommend using some thick sweatbands as some extra cushioning.
Alexandra Radini has been a longstanding contributor to The Progrm’s blog and community. She has a Master’s degree in Food Science, and uses her background in STEM to teach others about nutrition, optimal recovery strategies and the ins-and-outs of functional fitness. If she’s not writing you’ll likely find her somewhere perfecting a crazy (food) scientist recipe.