Setting up concept2 machines properly + Assault bike
Learn how to set up a rower, a bikeerg and a skierg from concept2 and the loved Assault Bike. Setting up these machines is crucial for the best performance.


Learn how to set up a rower, a bikeerg and a skierg from concept2 and the loved Assault Bike. Setting up these machines is crucial for the best performance.
Flywheel ( = air resistance) based cardio machines have been a big mainstay in Crossfit since the rise of the sport.
Which makes it mindblowing that in 2021 most athletes and coaches don’t properly understand these machines.
Let alone know how to properly set up the machines.
Setting up your concept2 machines correctly can mean better scores instantly.
Yes, we just said that.
We’ve seen it time and time again in our CrossFit programming.
Athletes improve their times or scores on machine based or machine heavy workouts in the matter of a single session by simply adjusting the machine to maximize their output.
Clearly there can be no fitness improvements in the time frame of one training session which shows how crucial proper machine set up can be.
Want to learn how you can benefit from machine set up? Keep reading and we’ll explain everything you need to know.
Before we address “how to” it’s important to understand some basic principles of simply “how” do concept2 machines work.

When you look at your cardio machine of choice the recurring components between all three of them are:
- The flywheel takes air in and utilizes it as a form of resistance.- The damper, which is located on the flywheel, regulates just how much air is let into it. - The damper set at 10 allows for max air entry while at 1 brings air entry to its minimum. - Lastly the monitor converts the data from the flywheel to give you feedback, in terms of meters, watts or calories, on your performance.
Please note between each rower there can be significant differences based on the air: flywheel interaction.
For example: let’s compare a rower at sea level and a rower in a Swiss alps gym.
The air composition of the environments the rowers are placed in different therefore the resistance that air can produce in the flywheel will differ.
Similarly if you have a very dirty rower, or a flywheel clogged up with dust, less air will be able to enter the flywheel.
Again, the difference in resistance will also be notable when compared to a cleaner rower.
This is why it’s crucial to set up your machine before starting any workout.
In order to do so, we utilize a crucial variable: the DRAG FACTOR.
This number can be displayed on your MP monitor and shouldn’t change with different rowing intensities. This means that, with your damper continuously set on one number, the drag factor will remain the same whether you are rowing as hard as you can or just taking it easy. Instead if you were to change your damper setting you will see how the difference affects the drag factor. Additionally, if you were to hop onto another rower at you gym keeping the same damper number you may find that the drag factor will again be slightly different.
Keeping this in consideration we always recommend our athletes to aim to keep their drag factors into a certain range.
The range number can vary depending on the athlete’s build.
Overall we recommend setting your damper to a number that will allow you to stay in this range:
Minimum drag factor (ideally for a lighter female): about 120
Maximum drag factor (ideally for a heavier male): about 130
Another crucial variable to look at is STROKES PER MINUTE (s/m).
The name is pretty self explanatory: your “strokes per minute” depend on how “fast” you are rowing.
They are always displayed on whichever monitor configuration/display you choose, regardless of unit of measure selected.
A common misconception is to believe that the higher the s/m you are rowing at the better is your power output.
This is untrue.
You can row at a slower rate but be able to transfer a lot of power to each of your strokes therefore delivering a high power output.
On the other hand you could be rowing “very quickly” but not expressing much power on each of your pulls.
This is actually an error frequently committed by those new at rowing or with poor technique.
Thinking that lots of pulls equals more calories, or more meters, is simply incorrect.
However, it would be an error to assume all athletes should row at the same s/m average.
Shorter or lighter athletes won’t be able to express as much power in a single pull as heavier or taller athletes.
Additionally this number can vary slightly based on the type of workout being performed.
With this considered we find it best to recommend this range of stroke per minute to our athletes.
These numbers are based on the concept that lighter/shorter athletes will have to row more quickly (have a higher s/m range) to make up for the lower power output they can deliver.
Minimum strokes per minute (heavy athlete): 22 s/m
Maximum strokes per minute (lighter athlete): 30 s/m
Please take these numbers as a reference guide.
Individual variance can play a key role.
Overall your goal should be to find the optimal resistance (damper setting) to obtain a balance between power output and stroke frequency.
Higher frequency can mean higher cardiovascular demands but a less taxing effort on your legs. Whereas higher output for lower frequency has the opposite effect.
The skierg is closely comparable to the rower when it comes to damper setting, drag factor and strokes per minute.
The two machines are very similar in how they function and how the MP monitor registers movement and effort.
In particular every stroke can be broken down in the pulling phase and then the release phase.
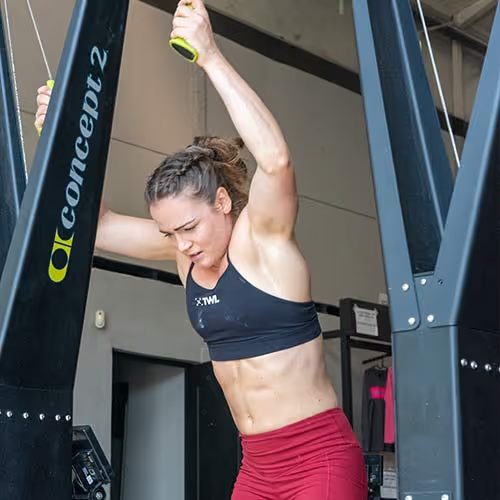
In the pulling phase you are imparting energy, either by pulling back on the rower or down on the ski. The release phase is made up of the returning movement, where you allow the chain (row) or cords (ski) to retract.
In this phase you are essentially resting as there is no power output.
These concepts allow us to understand the difference between these two machines and the bikerg, which we will be addressed later on in this article.
When looking at the drag factor you can directly reference back to the rower set up and target range. Instead for the strokes per minute you should aim for these number ranges:
Minimum strokes per minute (heavy athlete): 25 s/m
Maximum strokes per minute (light athlete): 35 s/m
Use damper setting to find the optimal resistance to comfortably maintain your ideal s/m level.
Also take in consideration that your s/m rate may change slightly on the base of the workout.
Ex. you can go higher with the damper on sprint workouts.
Before transitioning to the bikerg we found it important to also deliver a brief note on the on emachine every single Crossfitter loves to hate: the Assault bike.
The peculiarity of the Assault Bike, aside from it having both pedals and handles, is that it doesn’t present many “adjusting” options aside from the seat positioning.
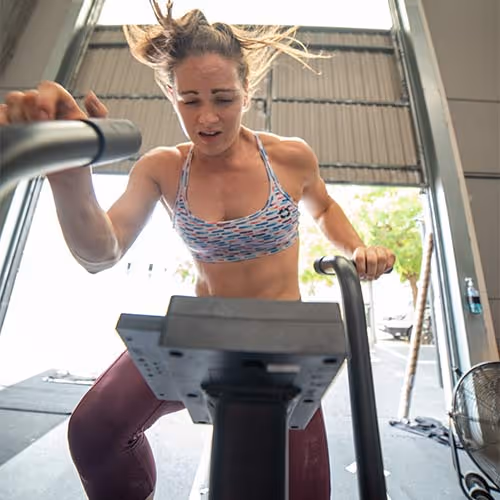
Additionally on the screen you will be able to identify the rp/m number. This value, also found on the bikerg, corresponds to the revolutions per minute you are biking at.
Unlike with the rower and skierg where a higher s/m doesn’t necessarily translate to a higher power output on the Assault bike rp/m is directly correlated to the energy you are expressing.
To put it simply:
The harder you push the higher your rp/m will be and therefore the higher your power output (in terms of calories, watts or meters) will be.
In consideration of all of this when it comes to the Assault bike there is simply no place to hide or strategy to lay out. You simply must suck it up, sell you lungs and soul and give it all you’ve got.
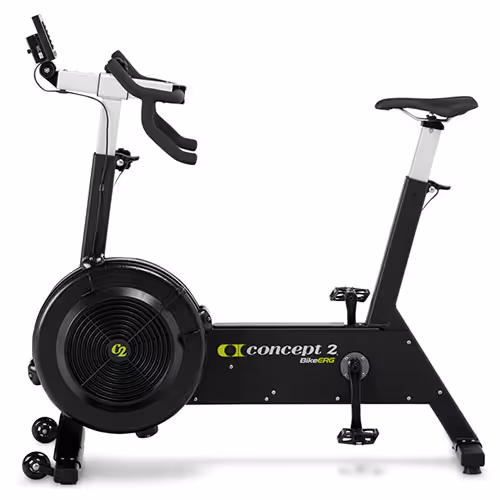
As we mentioned previously the bikeerg differs from the rower and skierg as it does not present the dual phase movement.
In other words compared to the other machines there is no recovery section on the bike.
When one leg completes a revolution the other one is already engaged in pushing the pedal down for the next revolution.
What this means is that your rp/m range will be much higher compared to the other machines.
Your power output will also be read as higher as you are essentially always applying pressure to pedals and therefore expressing energy inside the flywheel.
This is the reason why you’ll notice that while the rower and skierg display your 500m pace the bike MP displays your 1km pace.
The damper on your bikerg mimics the gears of a conventional bike.
You could also interpret the higher damper setting numbers as going uphill (or a hard condition as biking with the wind against you)l, while the lower range mimics a flat terrain.
This allows us to understand how, although it may feel like much more effort, utilizing a high damper setting doesn’t directly translate into a faster pace.
All considered, when it comes to rp/m range we utilize a slightly different approach compared to the other machines. For most workouts we recommend athletes to aim for 80 rp/m.
Bigger athletes will be able to maintain a range close to 80 with a higher damper setting compared to lighter athletes.
However, we do not recommend maximum and minimum end ranges like we do for the other machines.
We hope you found this article useful and don’t forget many times in Crossfit it’s not about working harder but smarter.
John Singleton, the founder of The Progrm, is known for training elite athletes, including many of Europe’s top CrossFit Games competitors. With a Master’s degree in Osteopathy, John combines science-based programming with a focus on performance and recovery. Based in Mallorca, Spain, he leads a global community dedicated to helping athletes optimize performance and longevity in the sport.